
After a heavy "suggestion" by my fiancée to declutter our dining room/home office, I decided to upgrade my desk. My current setup is a little corporate for a home office, so it's time for a change. Here's where I started:
For starters, I went to houzz.com to get some inspiration. Here is what I liked best:

After looking closely, I realized that my inspiration wasn't much more than some natural gas piping and a single piece of wood... How hard could that be to assemble?
Can't be more than an hour or two to assemble, right? (Wrong!)
After a trip to Lowes and then my local hardware store, I was pointed towards Central Builders to buy my gas piping. Once there I realized I should have done a more thorough job calculating my measurements. Fortunately, I wasn't the first person who took a while calculating (72 - 1 7/8) / 2. Here's what the machine that cuts black natural gas piping looks like... Sexy!

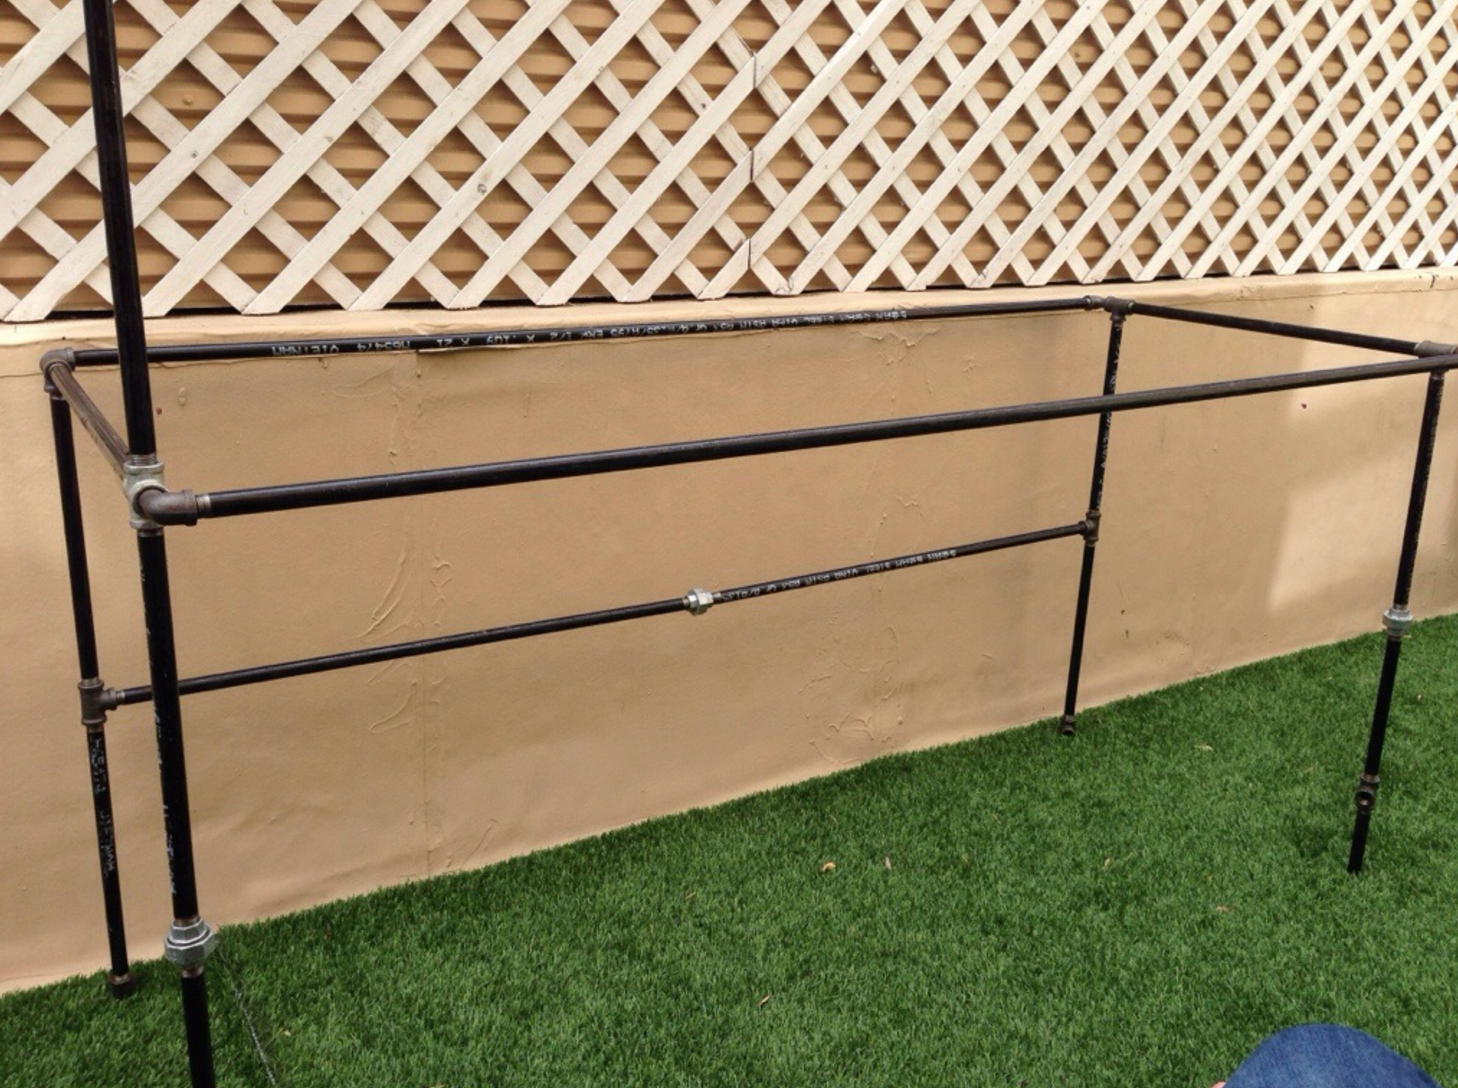
Ok, so either I miscalculated (probably) or the powers that be at Central Builders didn't measure correctly (also probable). Here's what the first draft of desk looked like - about 6 inches too tall and the stand for the attached lamp was on the wrong size.
Here's where I started:
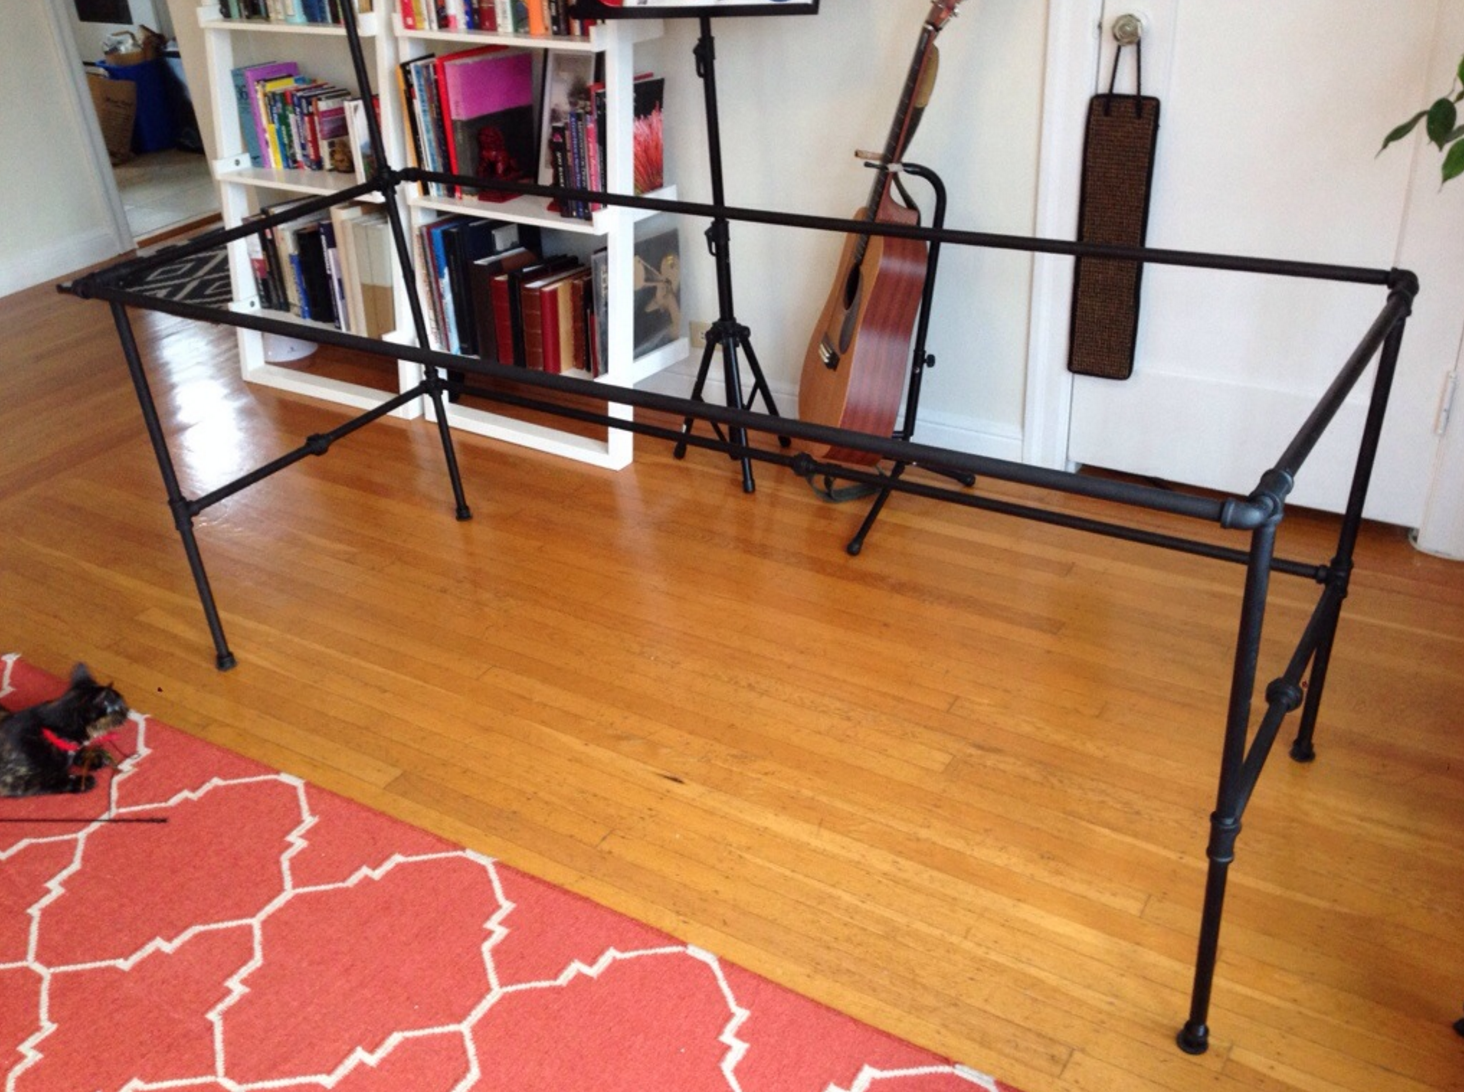
So after a few modifications, I resized the desk, moved the light stand and added extra braces to stabilized the legs. Here's where I landed:
After a pretty good wrestling match trying to tighten up some joints and bolts, I'm feeling pretty good about the dimensions and desk frame's stability... Time for paint!
When I went to the paint store I asked for a matted black spray paint. It turns out that because the pipes I bought are custom lengths they are coated in oil and need a coat of primer before anything will stick to it. I came out of the store with 3 cans of spray paint: black primer, black matte finish & black light gloss. After testing the paint on an extra pipe, I decided that the primer without a 2nd coat of paint would make the best finish.

Now that the frame is painted, here's how she looks:
So on my birthday, I decided to by myself a little gift -- a new Apple Cinema Display monitor.

Once the monitor was purchased, I realized I would need my birthday goal was to get something usable assembled, so I went to Golden City hardware and bought a 3/4" piece of birch veneered piece of plywood.

Once the wood was on the frame, it was time to hook up the lighting. First step was to cut the light chord to fit it through the chord of the frame.

Once the light was fed through the chord it was fastened to the frame. And then attached to a dimer fastened under the table top.

Ok, light attached but I wanted to raise the monitor, so I ordered an arm.
My favorite part of this desk is the wooden top that I had fabricated by the Wooden Duck in Berkeley. It's made out of what they called "stadium wood", which is the original benches from Memorial Stadium at the University of California.


... and we have the finished product!


Even the cat loves it...
